bubblebox

Go Back   Bubbleman's Hideout > Ice Water Extracted Bubblehash > Techniques

Reply
 
Thread Tools Display Modes
  #1  
Old 12-01-2007, 03:49 AM
Bubbleman's Avatar
Bubbleman Bubbleman is offline
Full Melt Clear Domeness
 
Join Date: Nov 2007
Posts: 1,276
Bubbleman is on a distinguished road
Default BUbblenowXl turns 40lbs of trim into 2lbs of bubble, from trim to clear domes!!!

Well , this post has been a long time coming. I have been wanting to get it up on a site for a while, but realy wasnt into > Now with fullmeltbubble up and live, i am stoked to show this one> IT took two guys two days , ten hour shifts to get this done. We rocked about 10 batches a day at a kilo a batch> I won't be showing every single pull , but will show all the trim we started with, all the ice, and the final product. Gonna give some tips throu out the thread, and hopefuly any that i've forgotten can be added by the bubble ambassadors. So lets get started

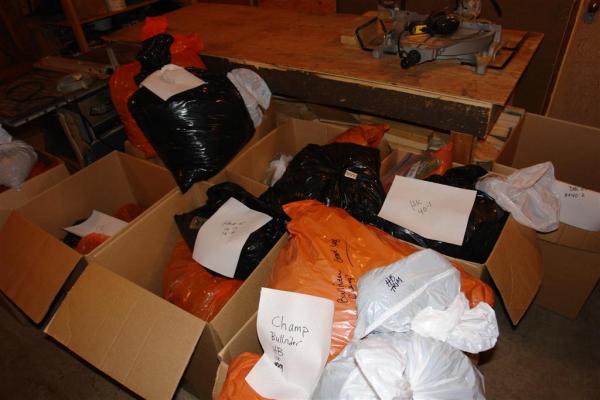
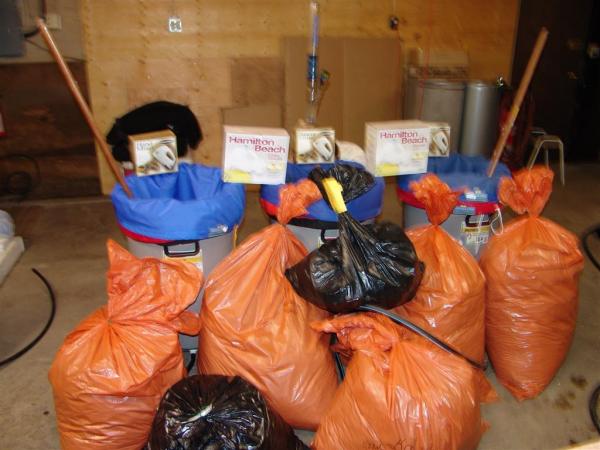
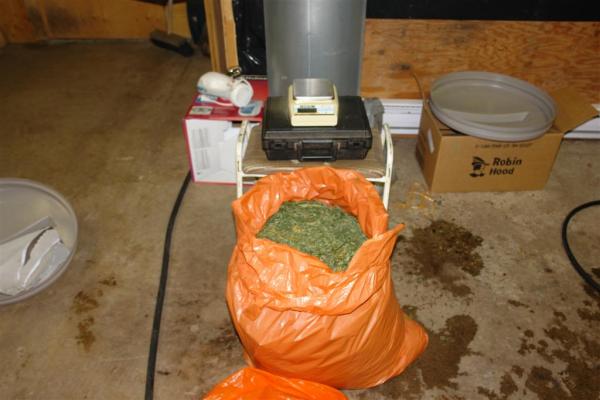
What does forty lbs of trim look like anyway?
well here's your answer

all the trim was dried, and seperated out by strain> although there were a few batch's we ran that were mixtures of three to four different strains.


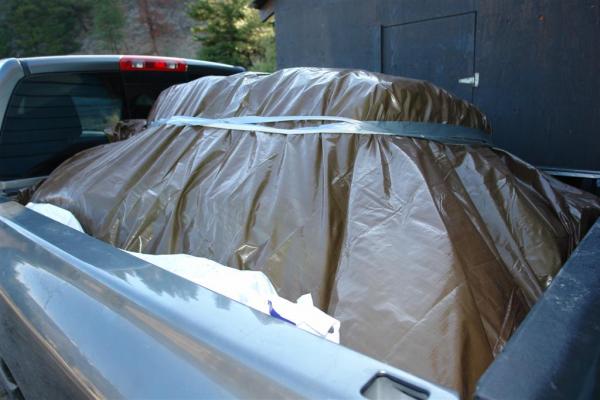
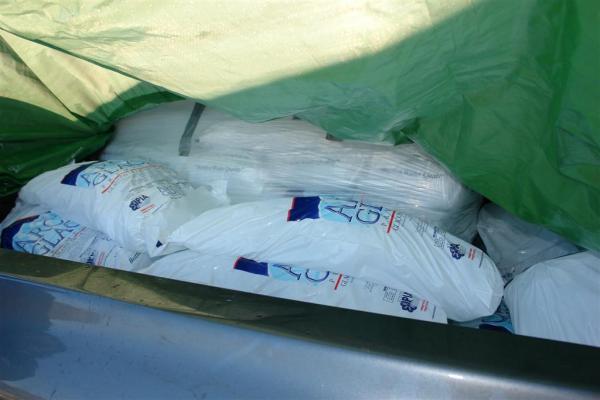
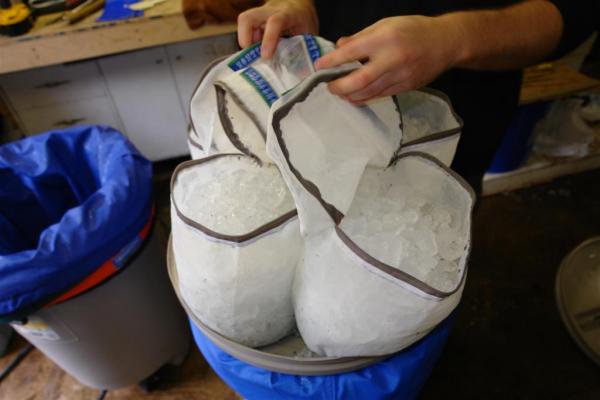
Now dont forget ice, you are gonna need plenty of it, so for this run we bought 1500lbs of ice for 300bucks in vancouver and trucked it to our work place.


each bag of ice is 50lbs worth, about four to five times the size of the bags you see at the store


the trim piled up nicely ( ignore those mixers on top we are using the BUBBLENOWXL)


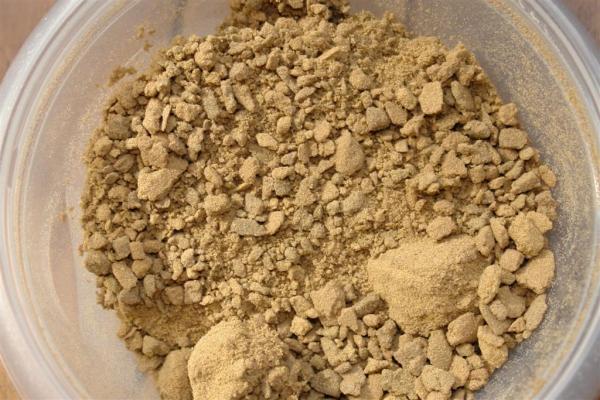
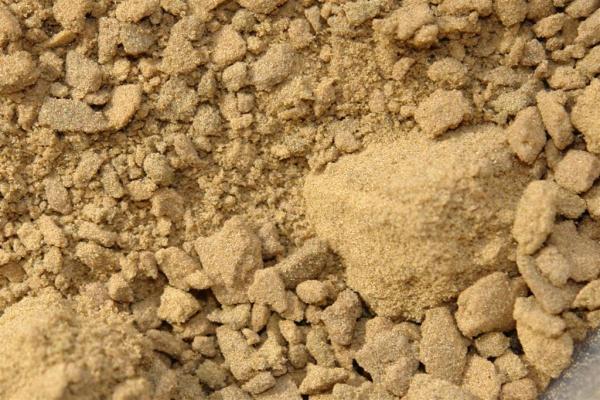
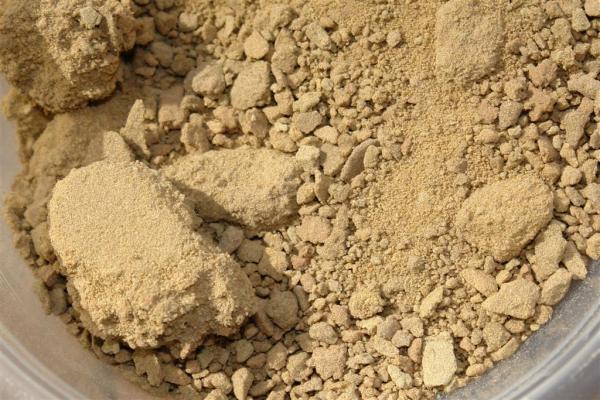
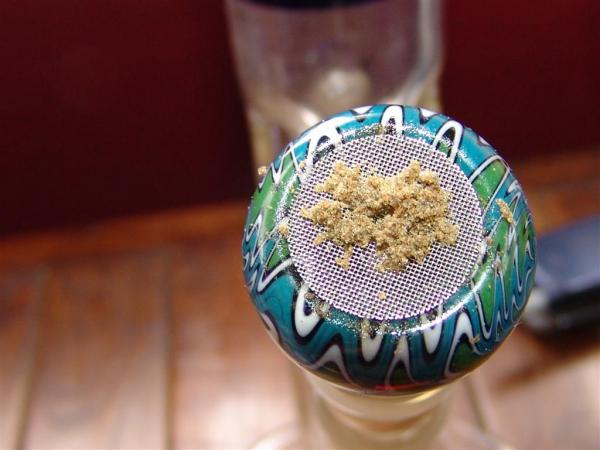
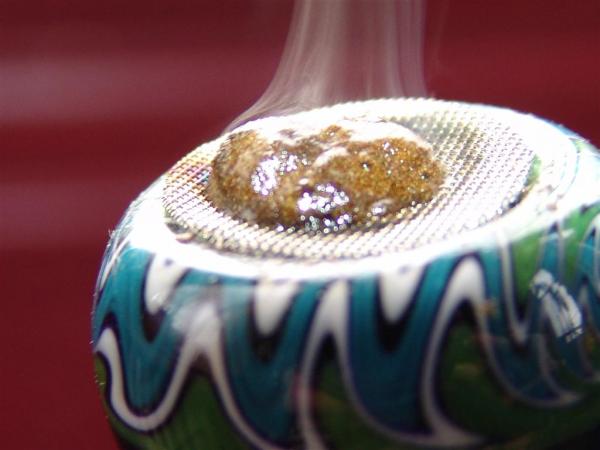
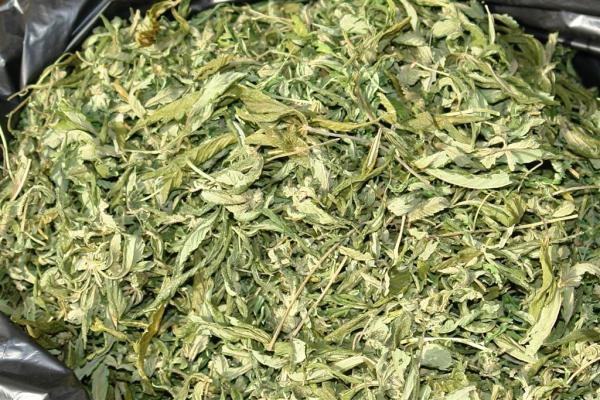
some of the trim upclose
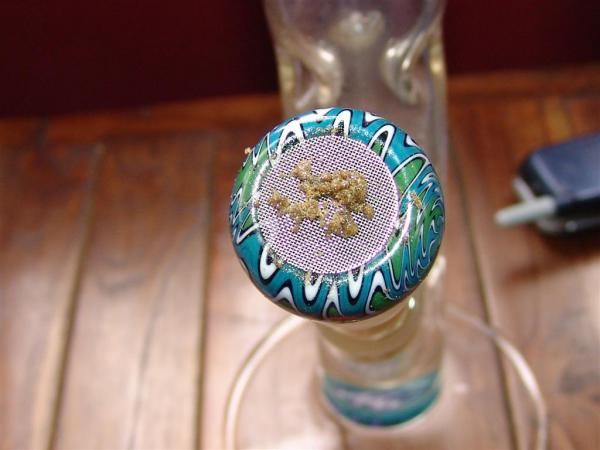
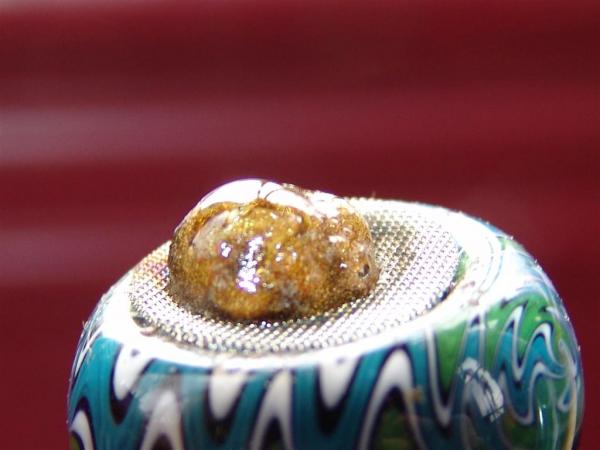

closer still...


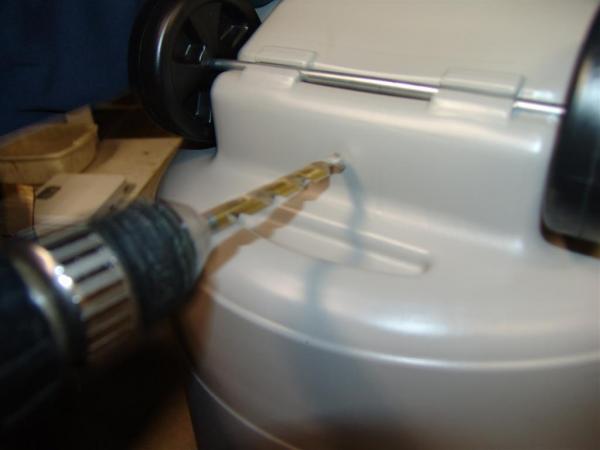
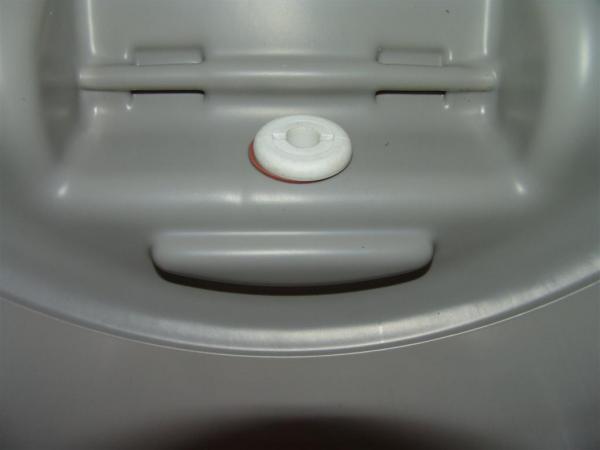
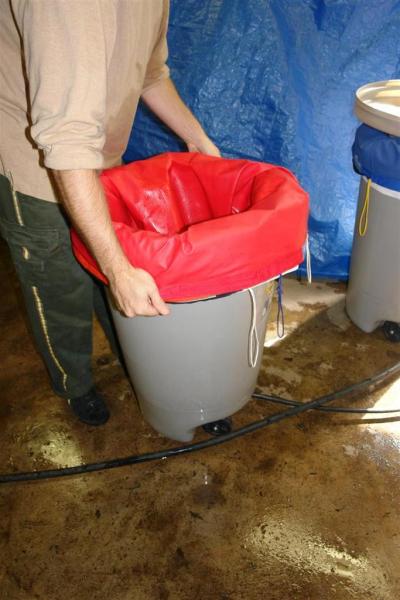
Before adding any trim into the buckets first we are gonna add some drains into the bottom of these buckets. It makes for a much easier pull when you can simply drain the majority of the water out the bottom of the bucket. so lets start with that.

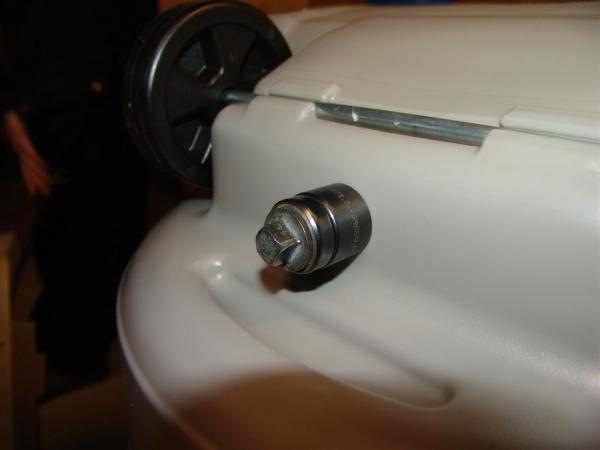
we take our twenty gallon bucket and drill a hole in the bottom

I am not sure the name of this tool, but my buddy had a bunch of them lying around, they are used to make holes bigger in wood and plastic. It goes on the outside and inside of the hole you drill. THen with a few turns, it cuts a bigger hole


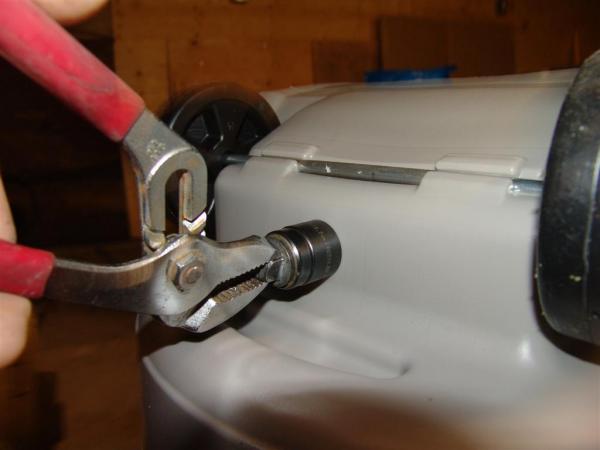
with a pair of plyers we can easily give it a few turns...


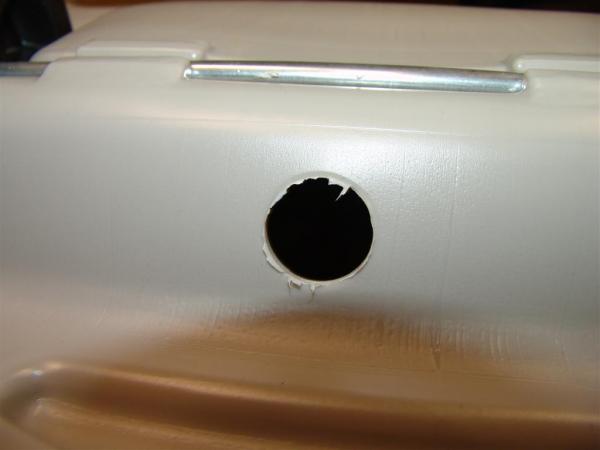
and in just a few turns you will break thru and get yourself a nicely cut hole.


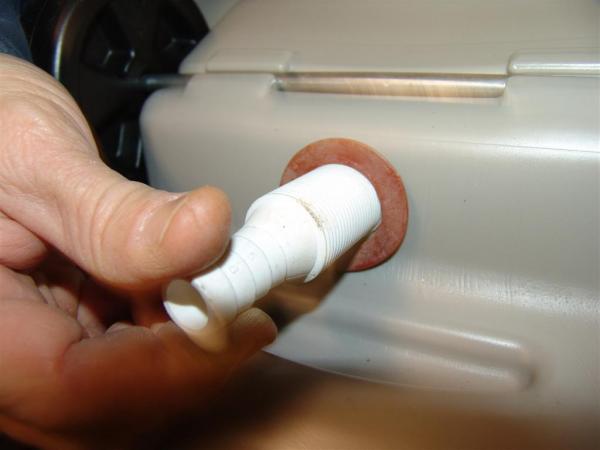
we then screw in our drain. Bought these at home depot for a few bucks, comes with two pieces that screw together with a washer in between

inside the bucket you can see it fits snug against the plastic wall
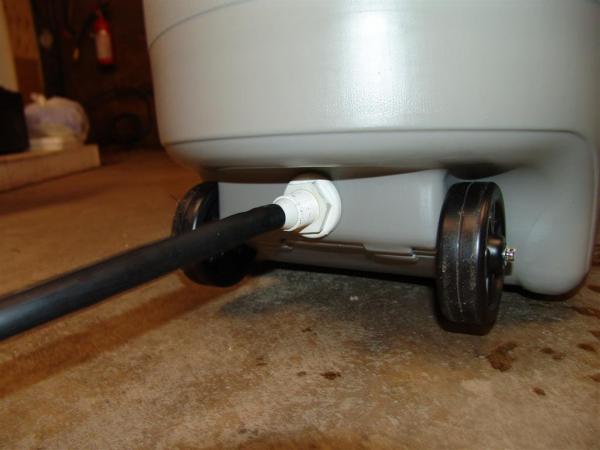
we had a hose to the drain with a tap that we can easily turn on and off, and we are done
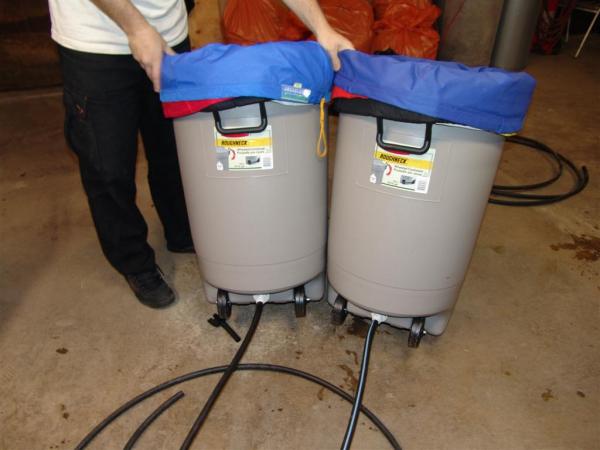
two buckets with drains and a BUBBLENOWXL and we are ready to start filling the bags.
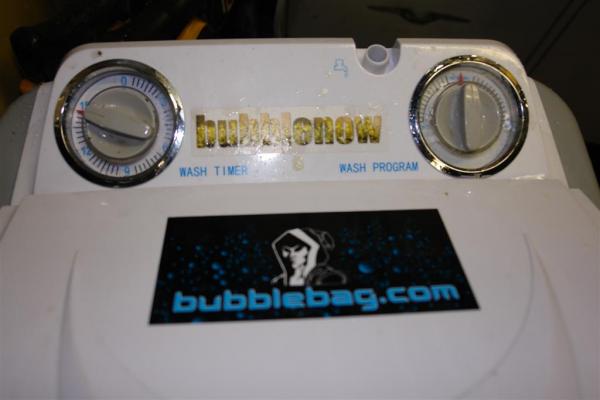
the BUBBLENOWXL is ready to go
another shot of the BUBBLENOWXL

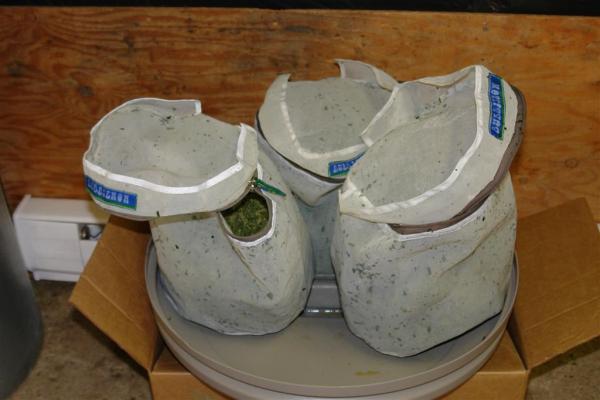
I didnt have my large all screen barrel shaped bags at the time of this run, ( they are in stock now), so i used four of the five gallon ones. with 200 grams into each bag, we did average runs of 800 grams. I set the scale up so i could make sure we didnt over full the bags.


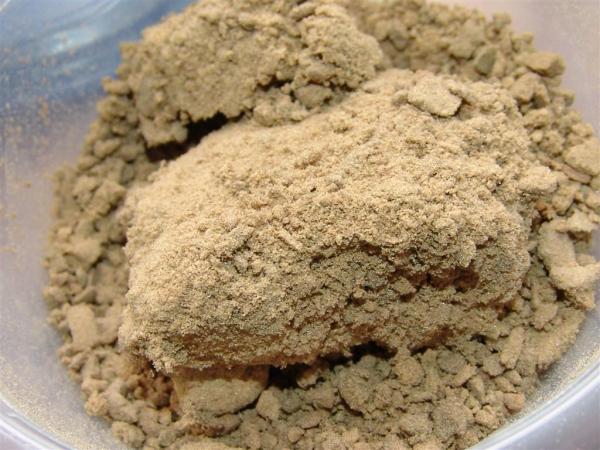
a nice little bonus on using dry trim for this run, each bag we filled with trim we noticed if we gave it a little bump on the scale it would drop half a gram of nice dry sift. So we were collecting lots of dry sift thru out the run.


Once we got four of them filled up we could move onto the ice


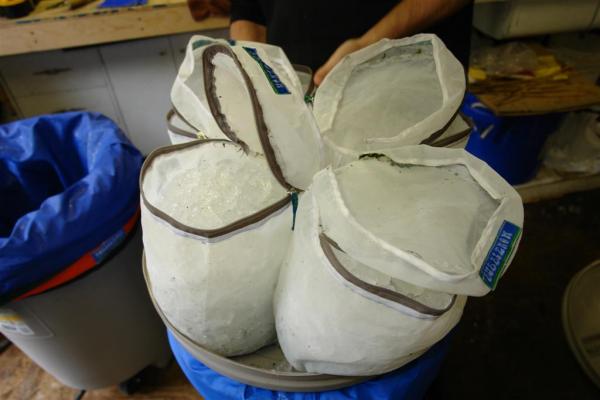
The ice has to go INSIDE The all screen bags, so it can do its job of bashing up against the trim in order to knock the heads off their little plant body prisons.


all full of ice and ready to close up the zippers,


Now take your cold water hose, and fill up the BUBBLENOWXL


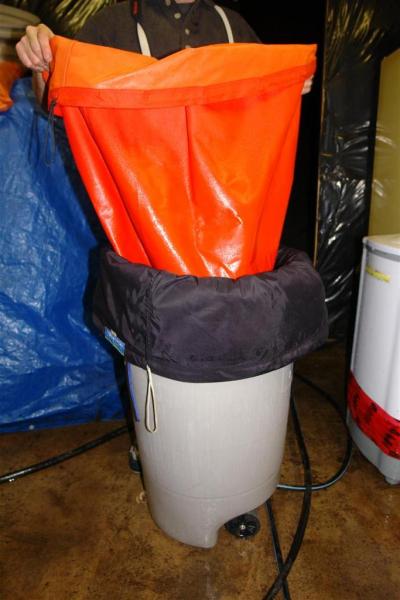
once you have the water a little more than half filled , you can throw your all screen bags in.


Top the water up to the top, and start her up> I put this batch at 15minutes of mixing.


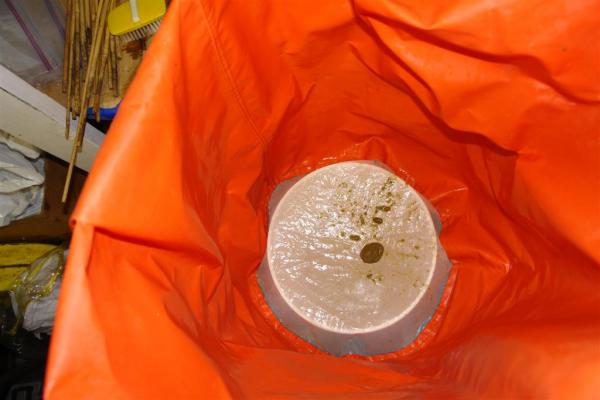
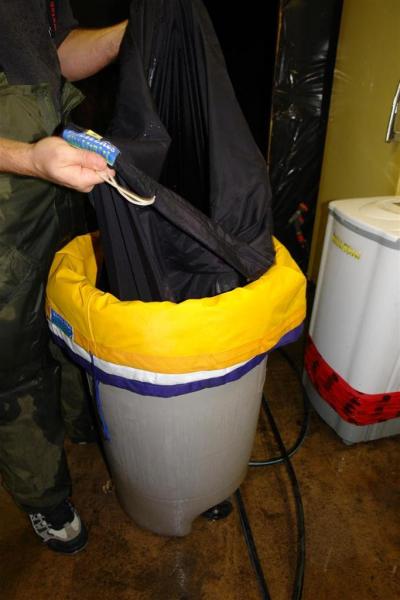
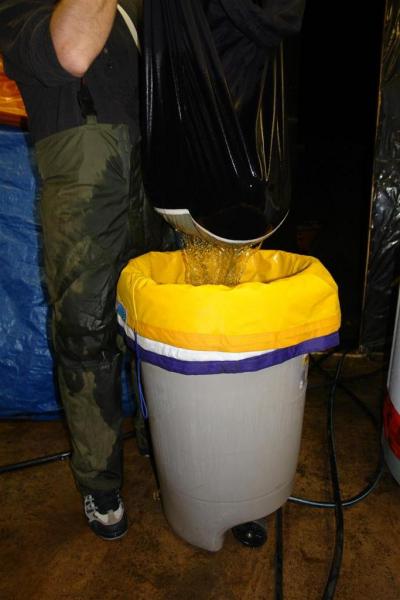
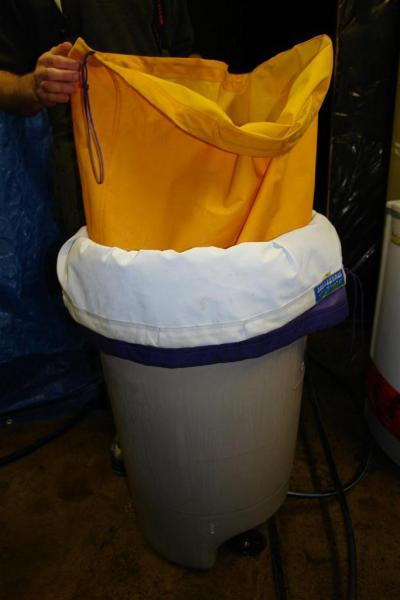
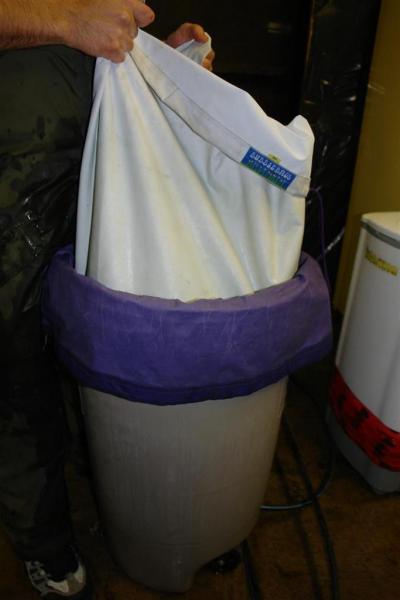
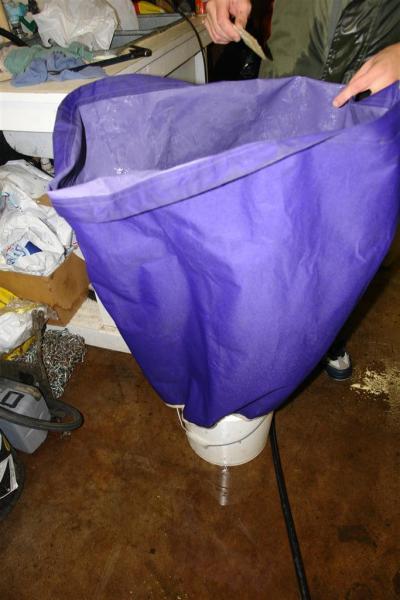
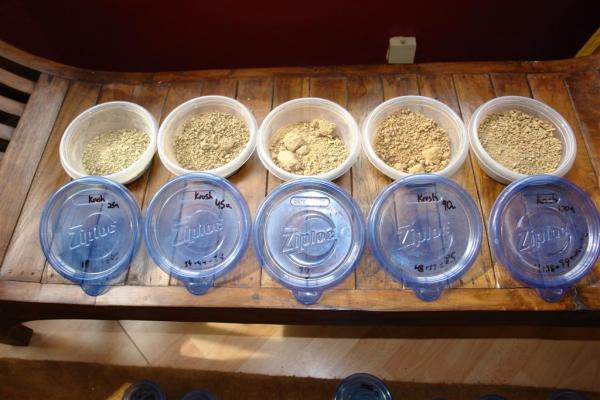
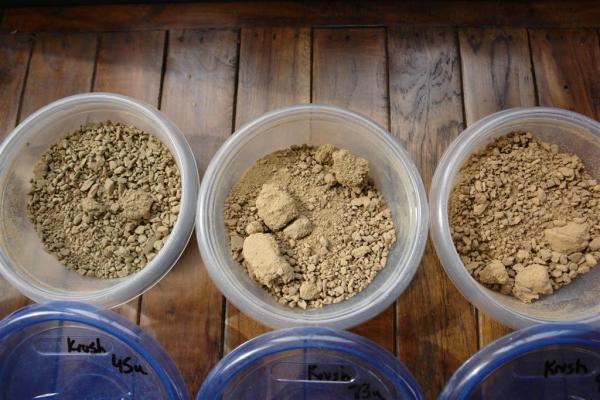
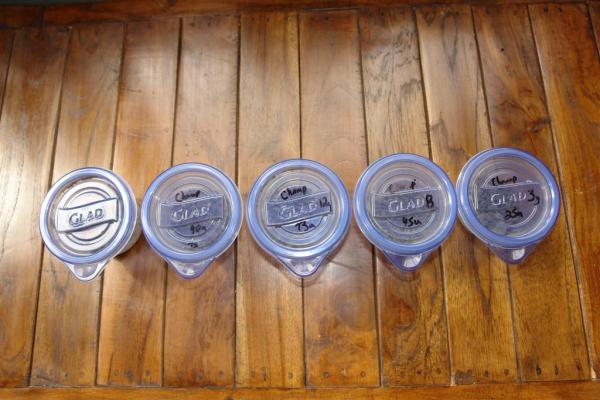
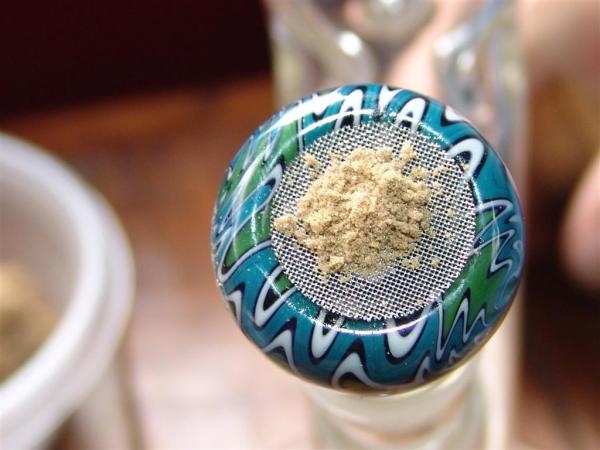
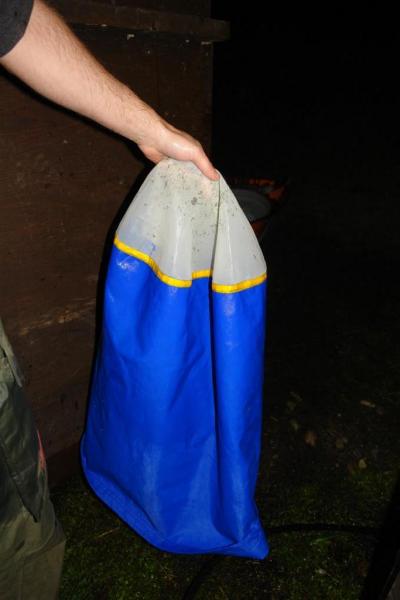
Now its time to pull our bags down and add them to the bucket, The order is as follows

25 PURPLE BAG, 45 WHITE BAG, 73 YELLOW BAG, 90 BLACK BAG , 120 ORANGE BAG, 160 RED BAG, 220 BAG i Left out the 190u for these runs, as we were collecting both the 190u and 160 together in order to give to a friend who cooks for med patients


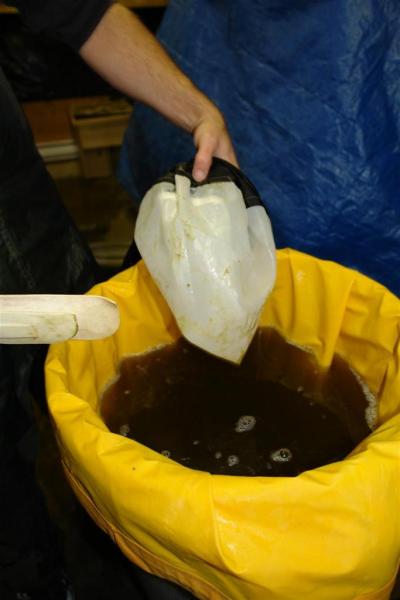
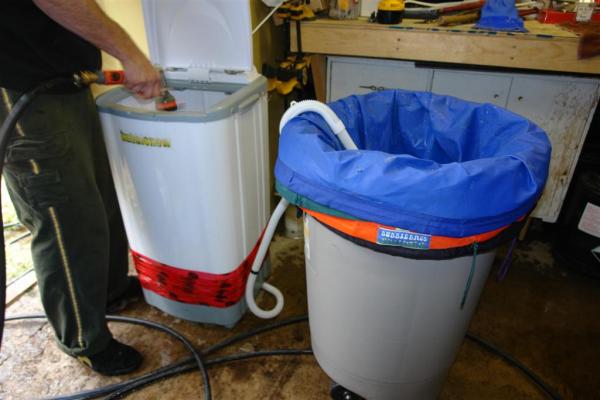
I still use my 220 work bag even though the all screen barrel shaped bubblenow bags are 220u, i figure in case any leaf makes it way out of the bag, you' can catch it in your 220 bag. The BUBBLENOWXL unlike the five gallon unit has a PUMP that allows you to simply turn the dial and the water pumps out the BUBBLENOWXL and into your bags. So you just set up the bags next to the bubblenow and let her drain.


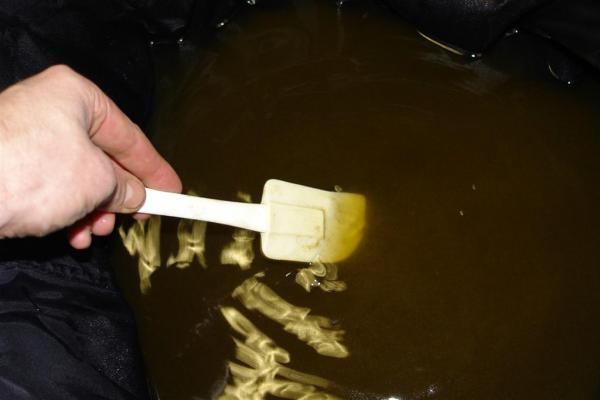
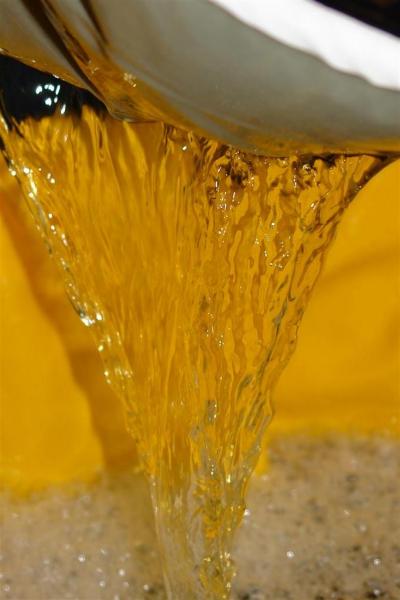
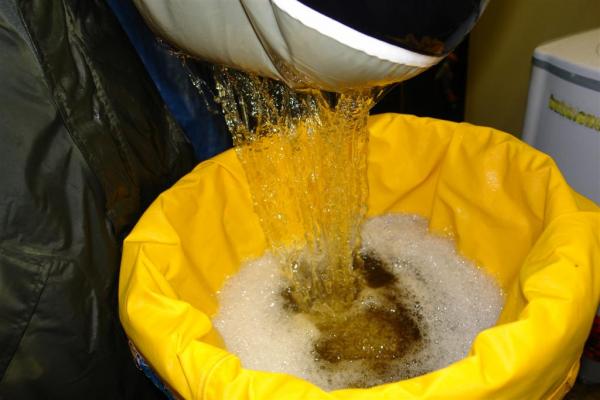
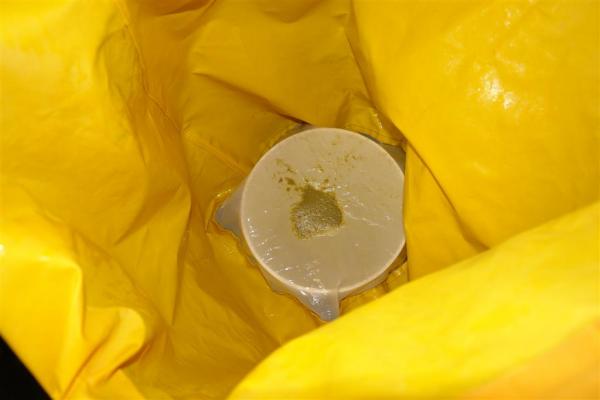
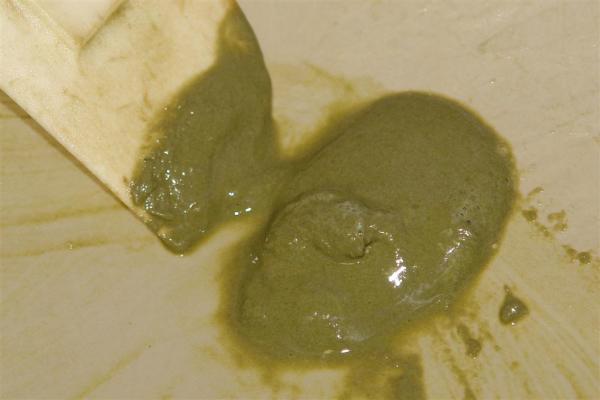
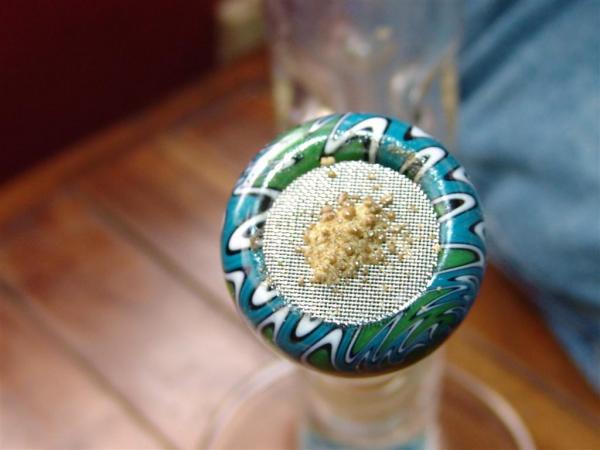
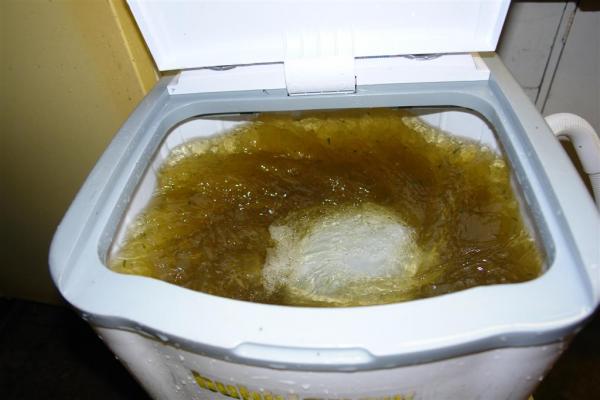
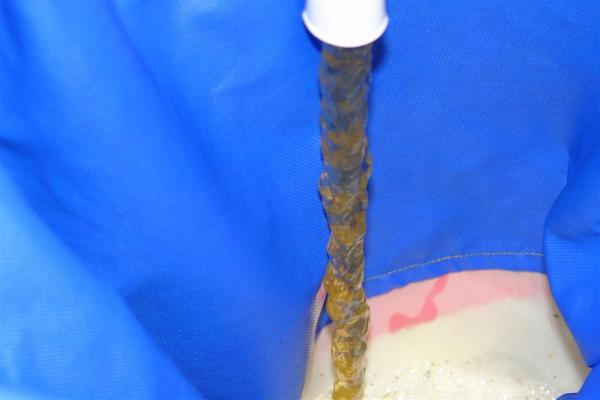
A Nice colour water draining out is always a good sign of good things to come..


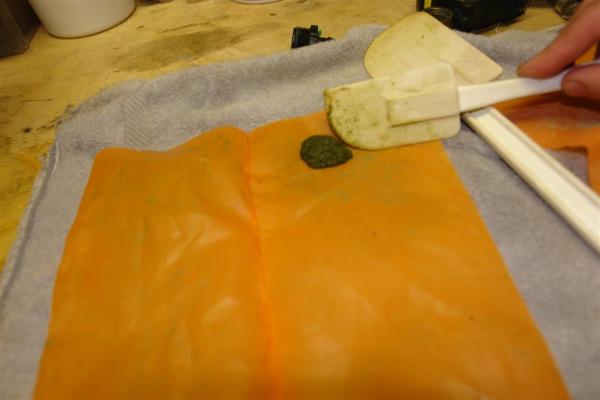
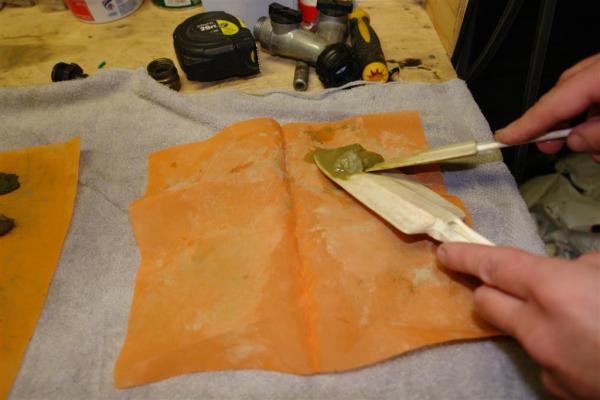
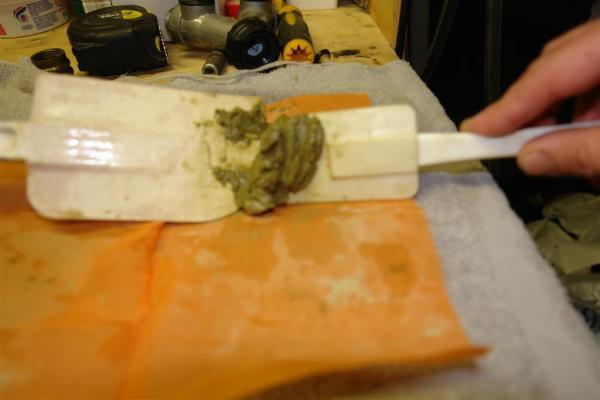
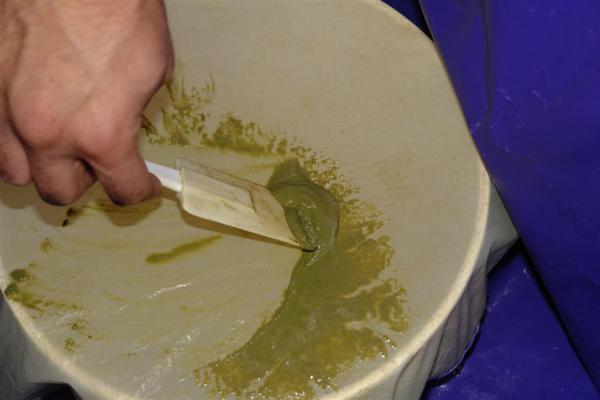
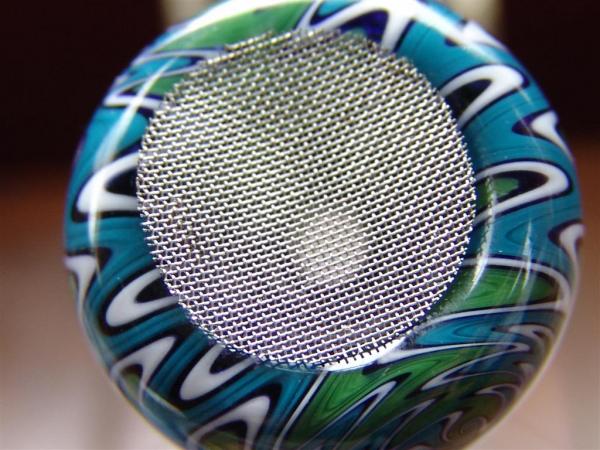
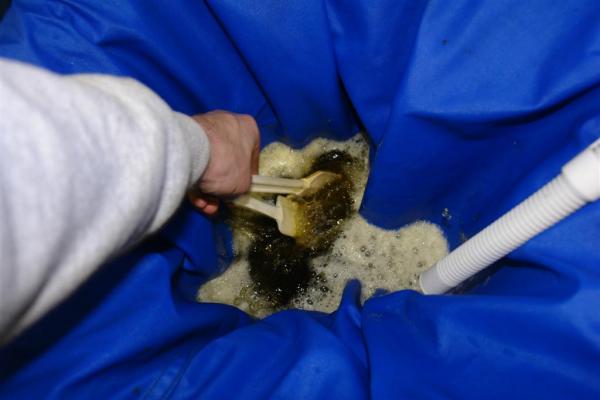
If this isnt your first batch of bubble, and you have bubbletools such as scarper as well as your last 25u bag, that needs to be cleaned this is a perfect place to clean those tools, so we can catch all those lost heads in the next batch of bags to be pulled


Rinsing your 25u bag into the new bags will save lost heads


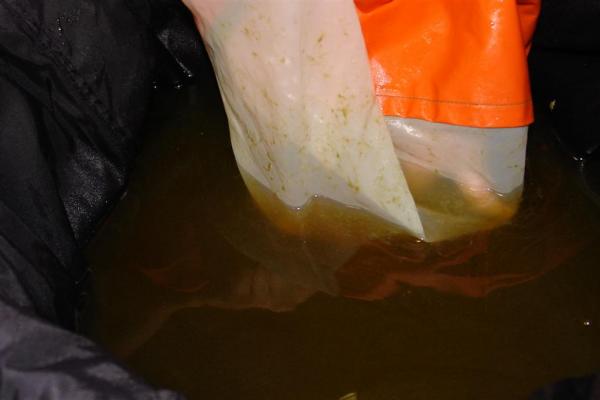
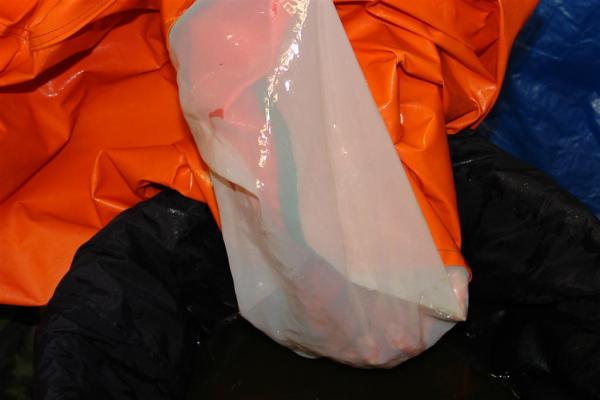
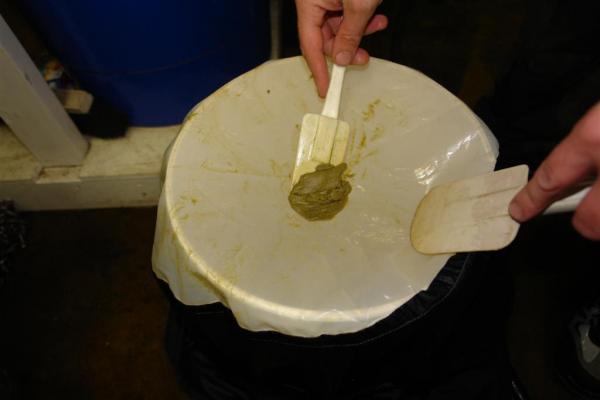
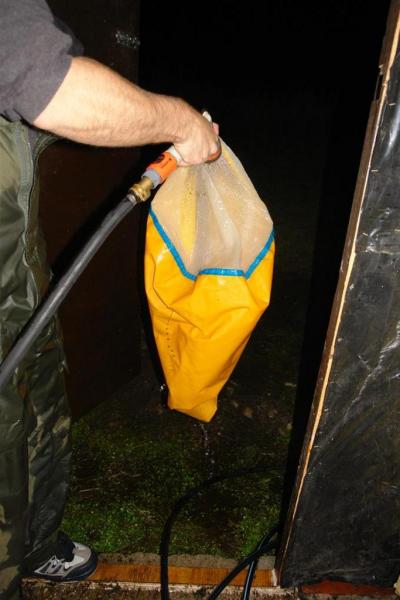
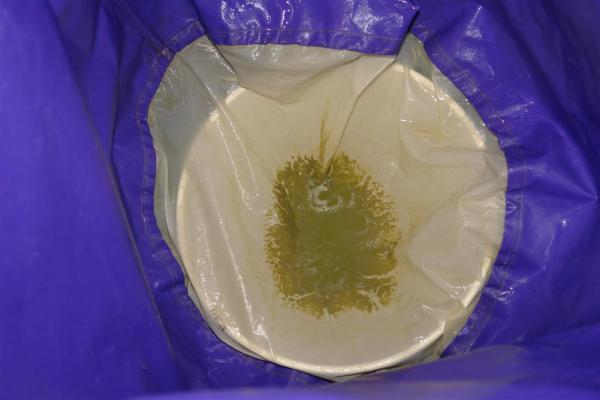
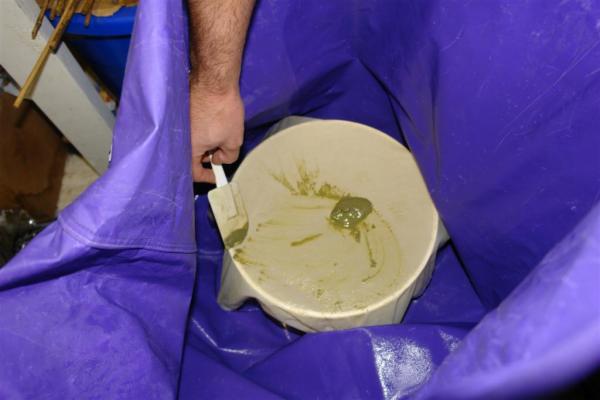
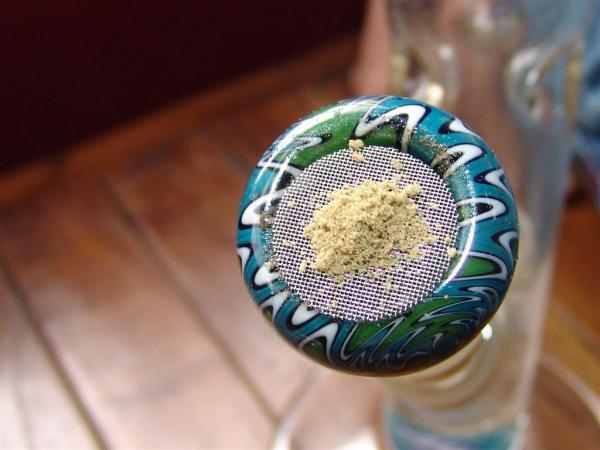
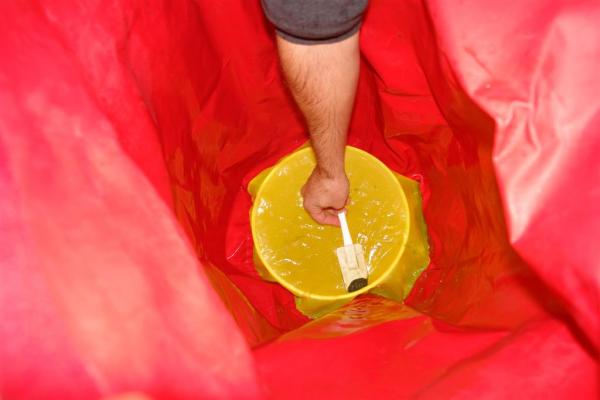
fifteen minutes later and no need to settle or anything, just start pulling the bags out, starting with of course the 220 bag.


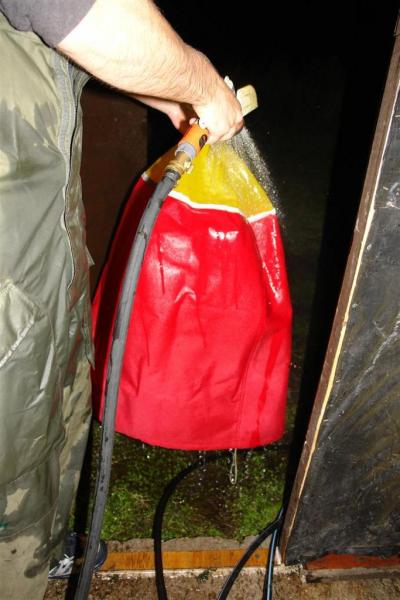
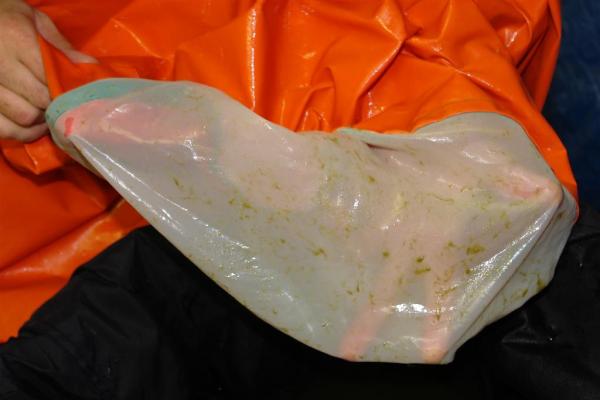
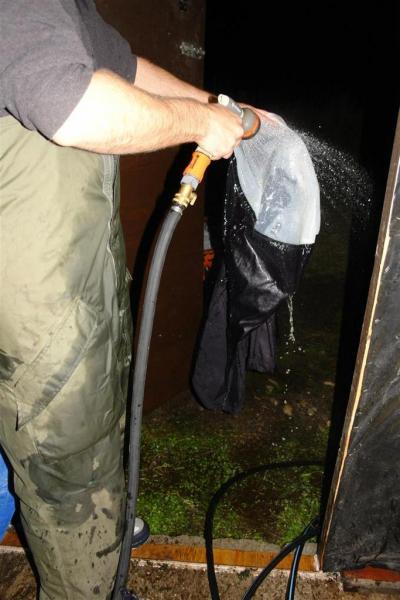
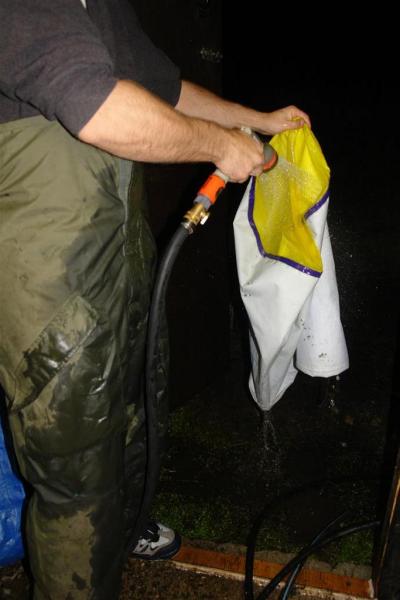
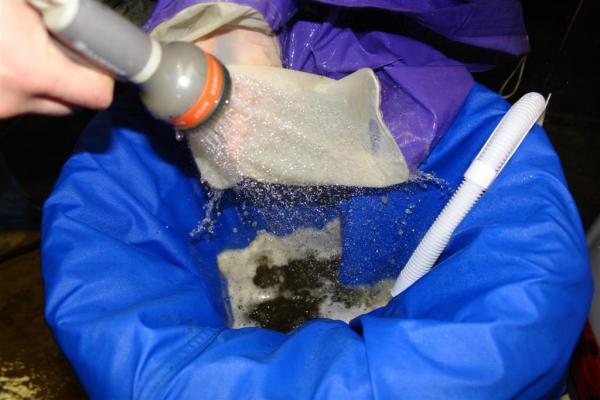
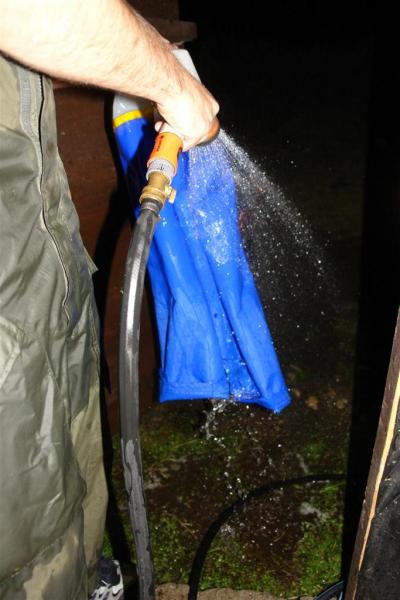
Once you've pulled a bag its best to clean it right away. dont put it down and start doing other things, take this bag and clean it. flip it inside out..


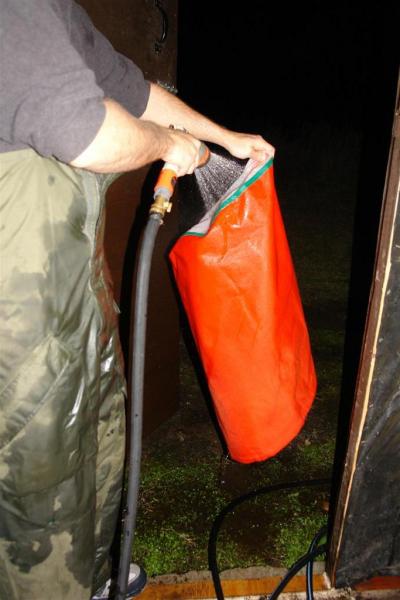
and rinse it with cold water


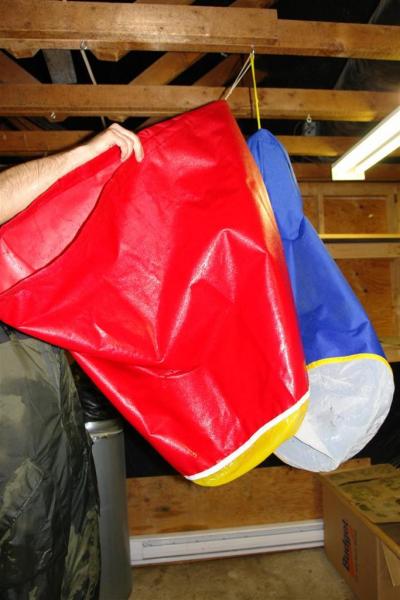
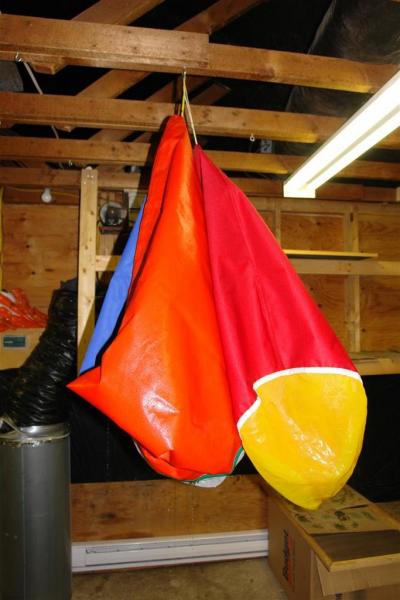
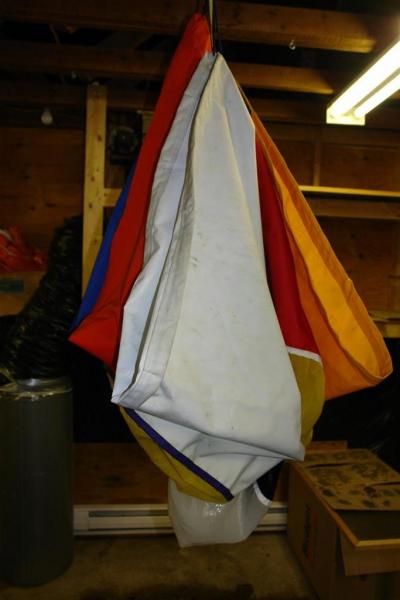
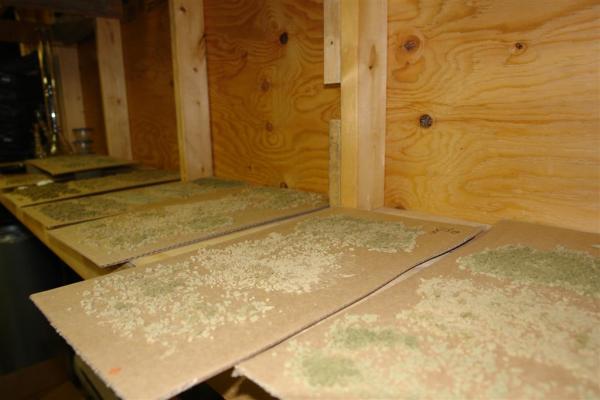
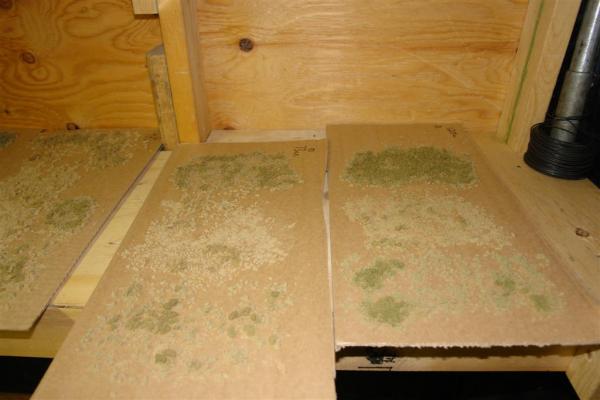
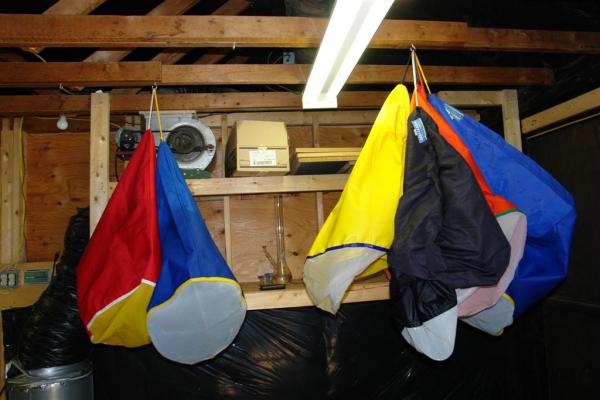
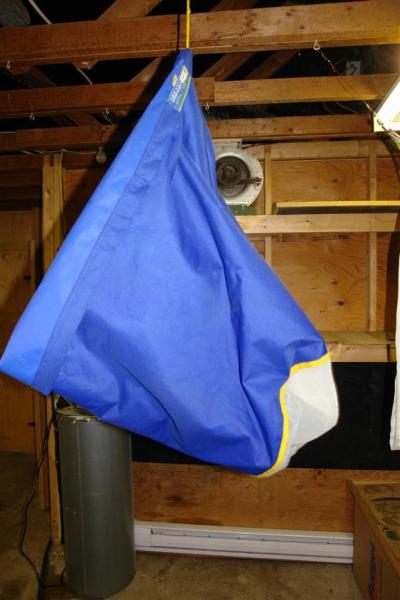
then hang the bag to dry properly


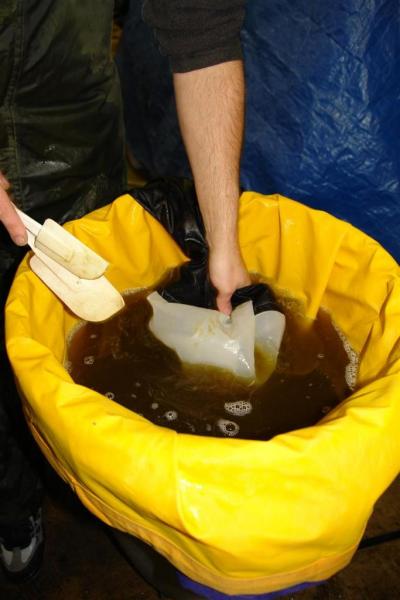
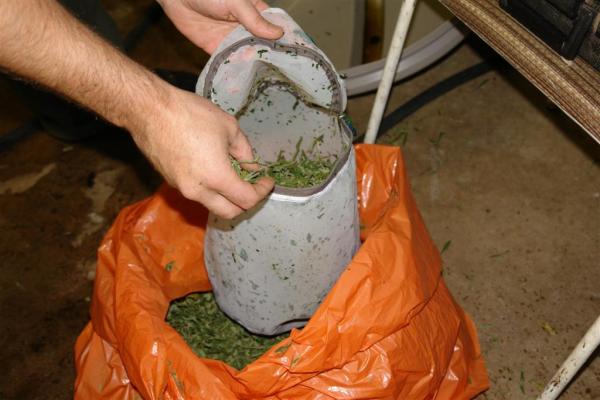
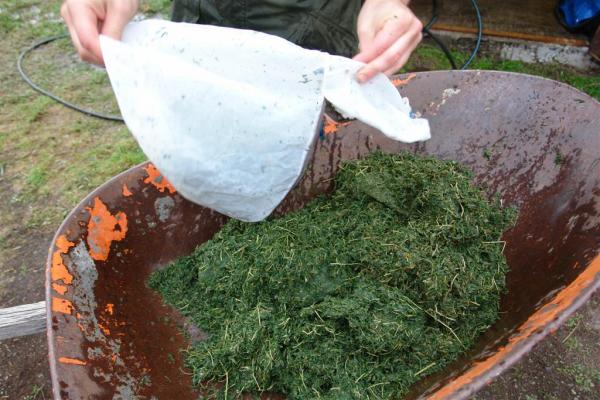
also take the all screen barrell bags and clean them getting as much of the spent trim out as possible.


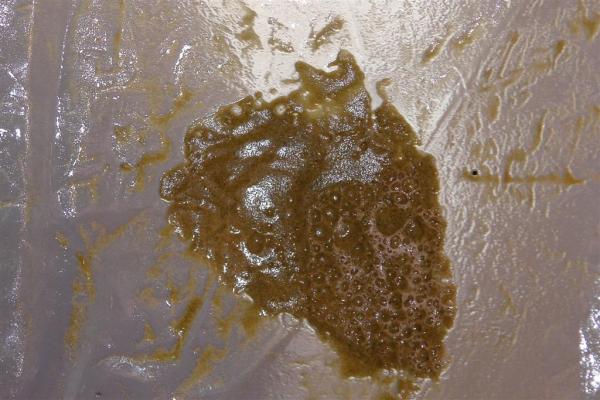
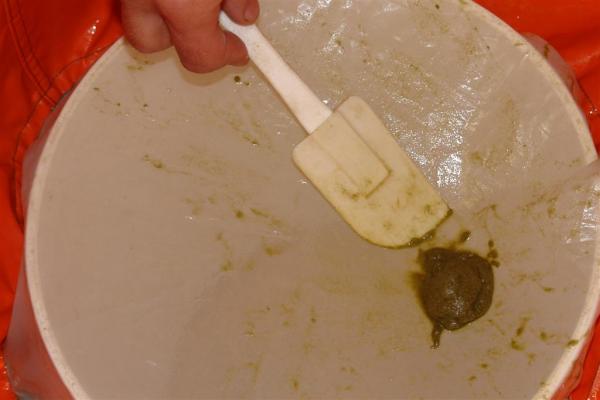
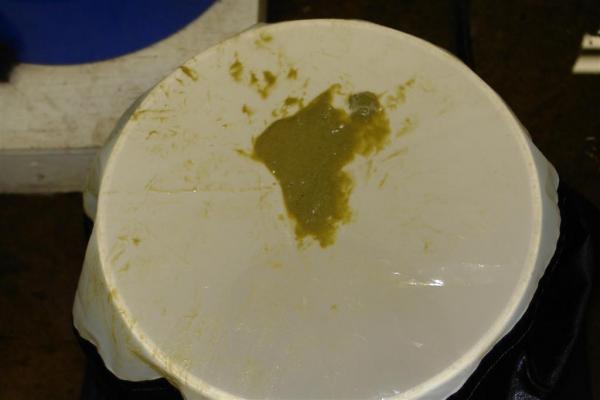
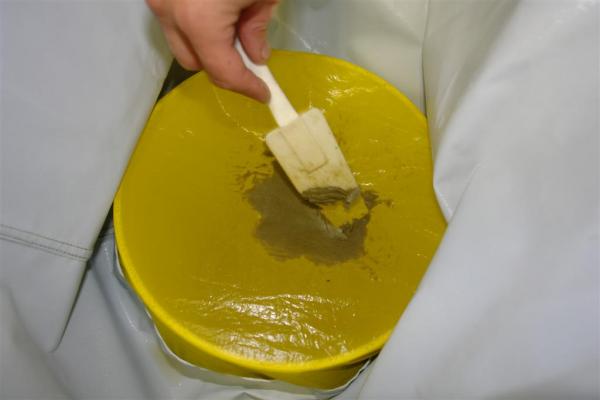
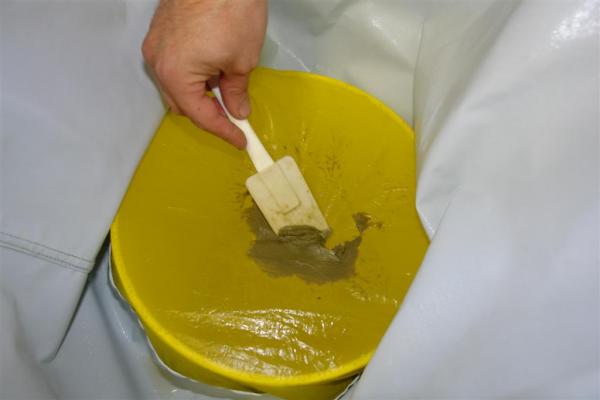
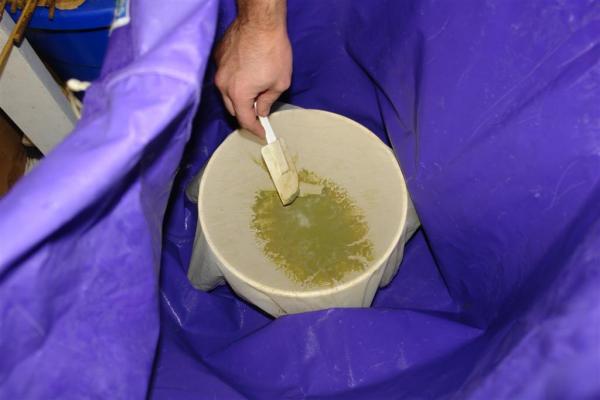
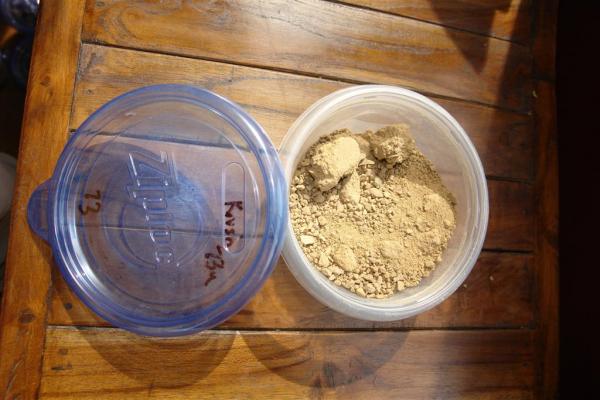
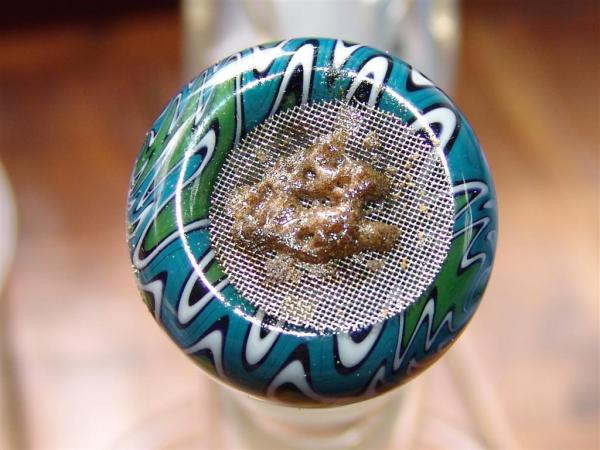
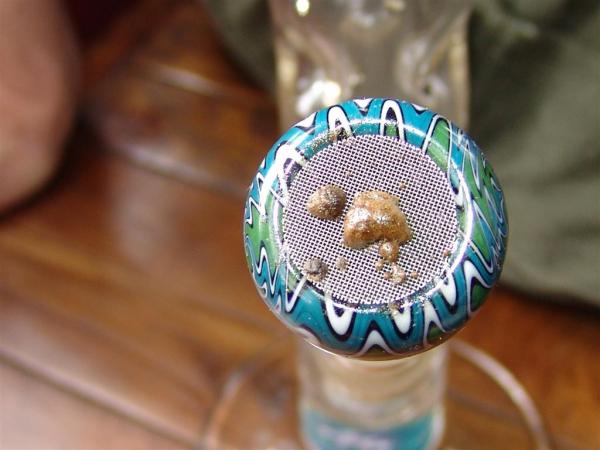
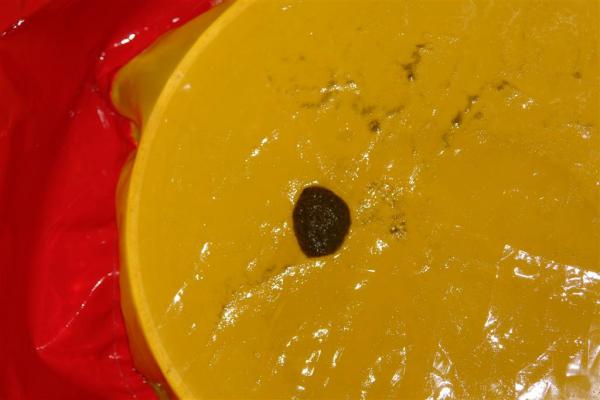
Next we have our 160 bag ready to pull


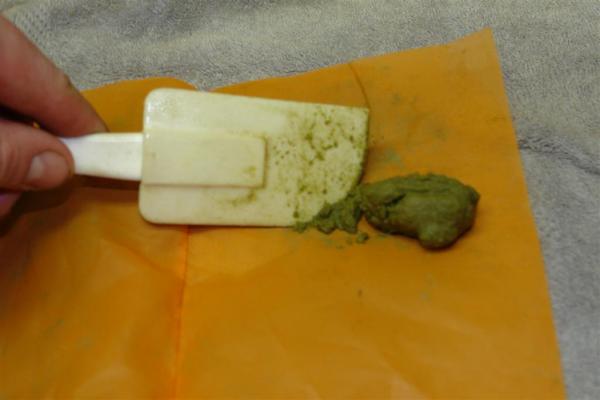
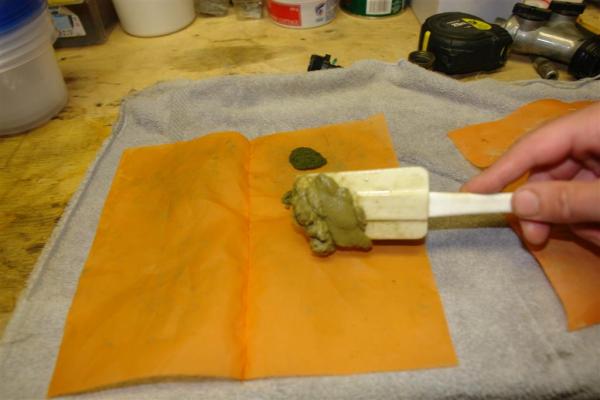
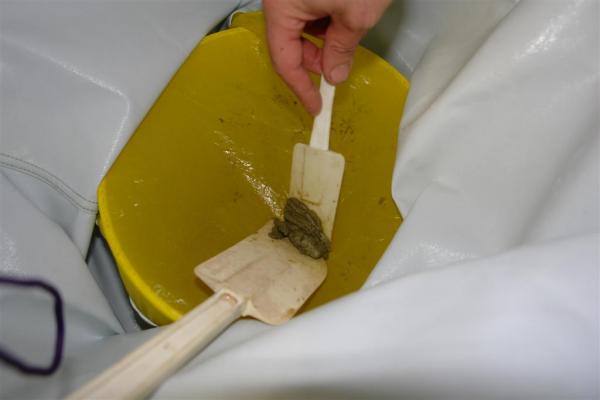
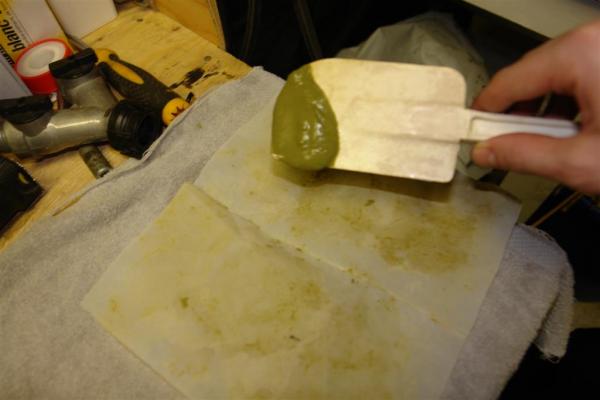
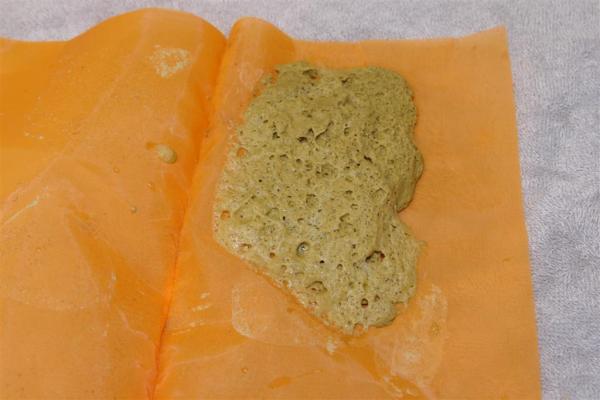
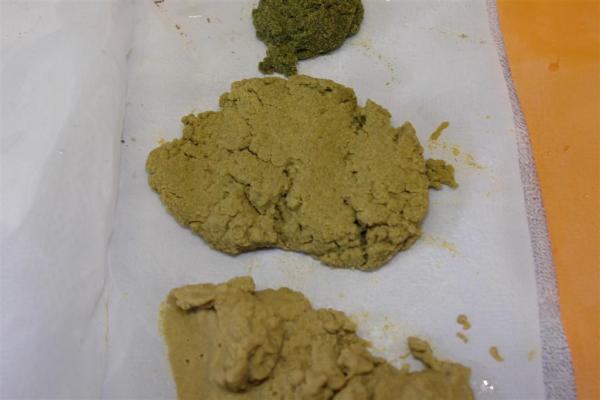
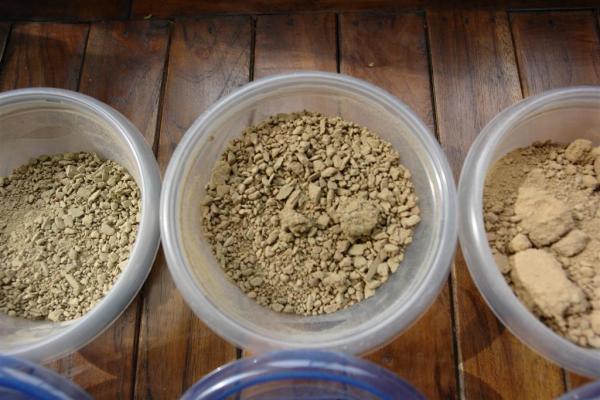
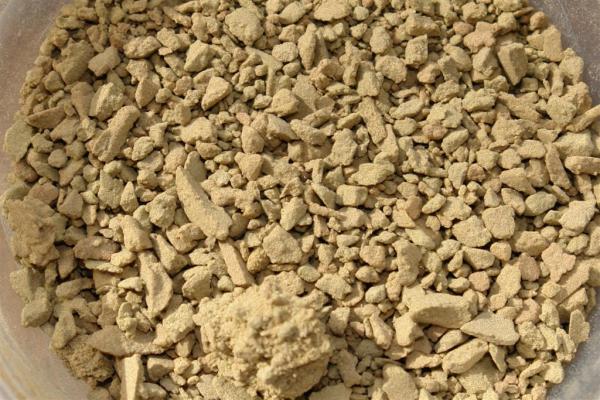
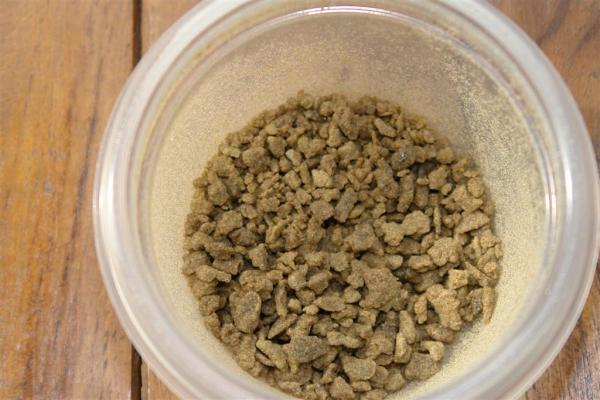
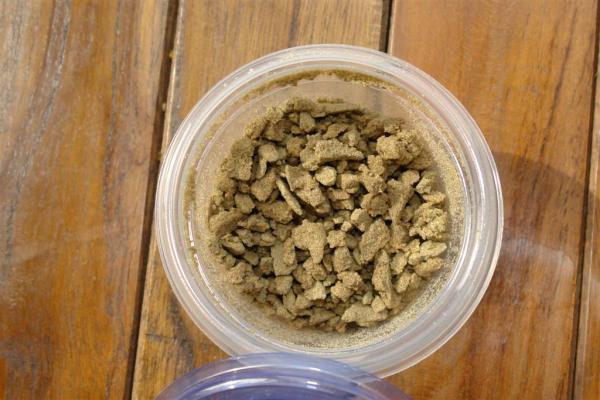
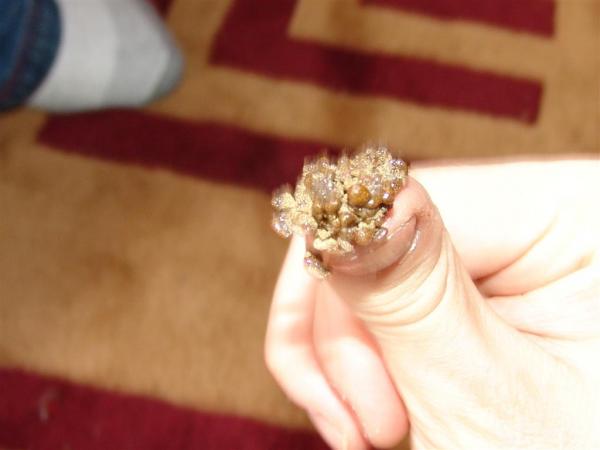
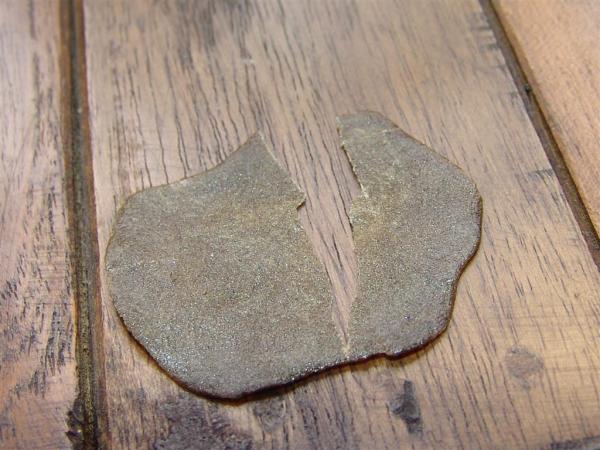
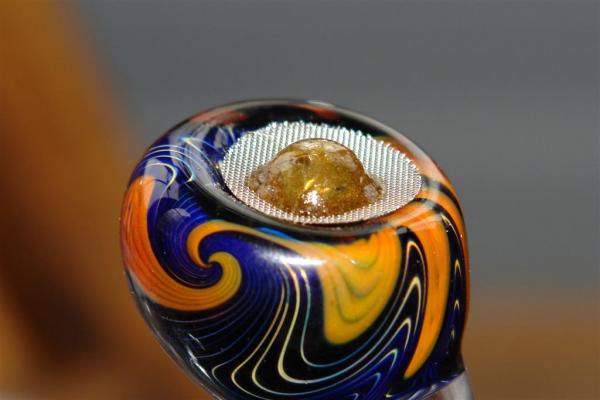
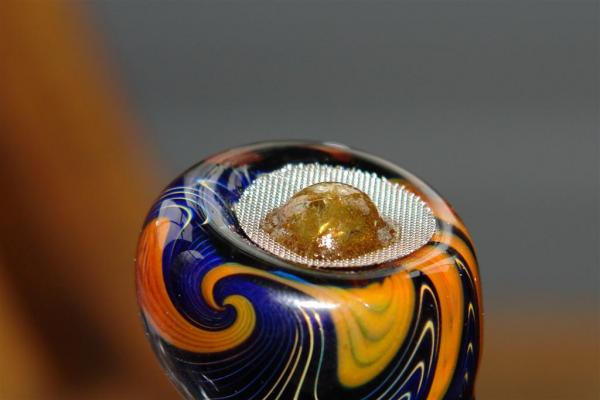
a little chunk of some lower grade stuff, that my friend will be stoked to cook with.


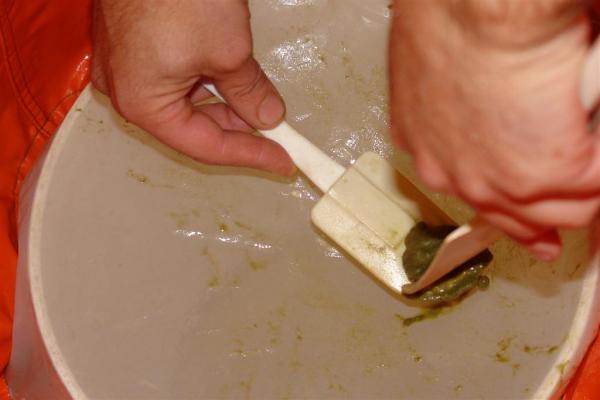
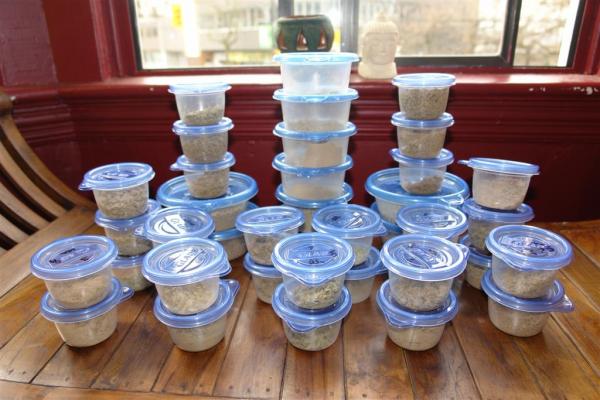
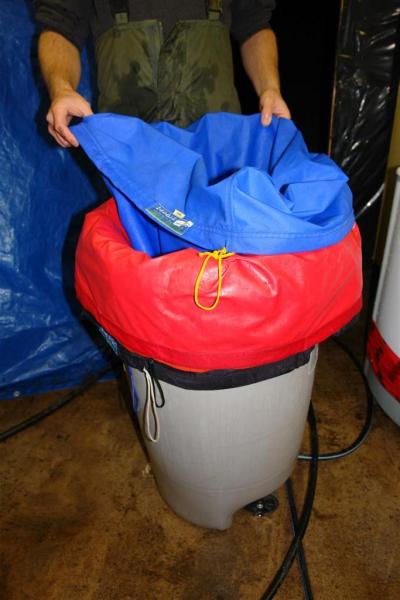
we used a five gallon bag to sit the twenty gallon bag bottoms on to make for easy scooping. The bags are heavy duty and hold themselves up nicely

Reply With Quote
  #2  
Old 12-01-2007, 03:50 AM
Bubbleman's Avatar
Bubbleman Bubbleman is offline
Full Melt Clear Domeness
 
Join Date: Nov 2007
Posts: 1,276
Bubbleman is on a distinguished road
Default second part

taking out the bubble, immidiately lay the bubble down on the pressing screen


This bag doesnt realy have any heads that are worth keeping for smoking, so we dont mind flipping this bag inside out and rinsing the mess off


when your done, flip it back and hang it to dry with the 220u bag.


Next up for pulling is the 120u bag, and in my opinion the first bag that is realy worth keeping for smoking. I have gotten full melt out of this bag many a time, and even when it doesnt melt, i often find a very tasty gland to be found in this particular size micron.


a nice little chunk ready to be taken out


looks a little bigger when you take a closer picture


time to scoop that out


Place the 120 on the pressing screen


Now because this is the first smokeable product, i suggest that you rinse your scoop inside the next bag to be pulled, the 90u black bag.


we will also be cleaning our 120u bag inside the soon to be pulled 90u black bag.


Now even though the bag will look quite clean, its still a good idea to make sure that you rinse the bag with clean cold water


Then hang the bag with the others to dry


time to pull the 90u bag, and often my favorite size gland heads. IF there is going to be melty bubble, it will often be found here first.


a decent pile by anyones standards


so scoop that up off the screen ( trichomefarmer mentioned in another thread that he fills a spray bottle with ice water and uses it to manipulate the resin heads to go where he wants them, he can make it so they all pile up into the middle, remove froth from the bubble and even clean up the sides of his bags, two thumbs up trichomefarmer another idea i will impliment , much like the drain idea you gave me years ago, thanks man .)


place the bubble on the pressing screen


we now can clean our 90u bag inside our soon to be pulled 73u bag. Can't be wasting such priceless gland heads so every way you can come up with to save more, let us know.


now we rinse our 90u black bag with cold clean water


now hang the 90u black bag with the others to dry


Now its time to pull the 73u yellow bag out

a nice little pile

scoop it out


and lay those golden globs of goodness on your pressing screen


now as repetetive as it may sounds, rinse your bag with cold clean water. even though we have already dipped the inside out screen into the soon to be pulled 45u bag. the screen can still use a good cleaning with clean water.


and hang to dry


Our second last bag for pulling is the 45u white bag.


THis is where we usualy get quite a bit of froth on the hash as we pull the 45u bag


we place the 45u bubble on the pressing screen


Rinse the bag with clean cold water


and hang to dry


we come to our last bag, the 25u bag.


a nice amount in the 25u bag

lets scoop it up


nice close up of the 25u bubble

now place it on the pressing screen


so here are a few shots of some of the bubble grades sitting on the pressing screen


here you can see the difference's in the grades just by their colour.


what i do now, is i basicaly close the pressing screen up like a sandwhich and using a towel on both the top and bottom of the pressing screen to absorb the water, i gently press it. sometimes with a rolling pin or a glass jar, what ever handy really.
Reply With Quote
  #3  
Old 12-01-2007, 03:51 AM
Bubbleman's Avatar
Bubbleman Bubbleman is offline
Full Melt Clear Domeness
 
Join Date: Nov 2007
Posts: 1,276
Bubbleman is on a distinguished road
Default third part

I then take the paddies and place them on cardboard which i write in each section the micron
number of the hash.


you can see as some of the bubble dry's it starts taking on a much lighter colour than when
the water is present .


I left this out for a few days on cardboard, and we were lucky cause there was zero traffic
in this room. no animals, nothing>IF you arent this lucky you will have to figure out a
way to protect your bubble while it lays on trays. I have seen baker racks used, as well
as wooden shelves, as long as you can put these bubble covered cardboards somewhere
safe, because the amount of time and energy it takes to get to this point, from seed,
its UNREAL.

So now we bring ourselves to the final product. once we have organized all the grades
and strains into their seprate containers, this is what it sometimes looks like.


ended up with a full lb of krush on this run. here are a few shots of the krush they are
easily discernable as they are in the larger containers than the rest of the bubs


some of the melties ( although almost all of it melted ) headies out of the whole session
go figure the champagne aka the bchashplant.

a little close up on some hashplant freshies


the entire 2lbs shown here, has been enjoyed by countless since this batch was made, alas
only a small amount left, but still melting nicely

a clean screen to show you a few of the melt factors on some of these lovely strains we
ran> Some of what was run, was hindu kush 401, krush, skunk 100, champagne, hashbud,
afghanie bullrider , and a few im sure im forgetting.


start off with a little hk


some skunk 100 melting away


a little hashbud


some afghanie bullrider


pressing up some afghanie bullrider with heat assistance


made a little pressed paddy of the afghanie bullrider. played with till it softend up
and flattened it nicely


let it cool and to show the quality of this resin, it goes to a nice rock hard feeling.
So when i hit it with the lighter, seconds after it was soft and pliable...


it breaks nicely.


a few of these batchs i just named numbers like 13, 7, and 5 as they were mixtures of
skunk 100, afghanie bullrider, hashplant, hashbud, hindu kush 401, and a few i will have
to remember another time lol, to many bowls in this thread .


so here is the 13,


load a bowl to see her melt factor's


the number 7 batch 90u


load a bowl


enough bowls of powder, lets make a little snake and see how that burns


nice and melty indeed


Time to change up the bow and make another snake, this time of champagne aka bchashplant


well i am all out of shots and all out of time, but i will be adding a few more things
to this thread tomorrow. perhaps i can find where i wrote down what strains are in each
mix batch. otherwise if you have any questions or can offer some other tips i didnt cover
here. that would be wonderfuly, now to take another hit of this krush bubble, its sooo
tasty now that its several months cured.

PEACE

Bubble man

Last edited by Bubbleman; 12-01-2007 at 03:58 AM.
Reply With Quote
  #4  
Old 12-01-2007, 04:12 AM
Green Supreme's Avatar
Green Supreme Green Supreme is offline
Interior Decorator Extraordinaire
 
Join Date: Nov 2007
Location: heaven, B.C.
Posts: 2,244
Green Supreme will become famous soon enoughGreen Supreme will become famous soon enough
Default

Respect. Good work man. Thanks for takin the time for the peeps. Peace GS
__________________
Stick that in your smoke and pipe it!
Reply With Quote
  #5  
Old 12-01-2007, 04:15 AM
schrooomy420 schrooomy420 is offline
Cloudy Heads
 
Join Date: Nov 2007
Posts: 43
schrooomy420 is on a distinguished road
Default

Awsome, may have taken 10 hours to make the thread, but it's a good one.
Reply With Quote
  #6  
Old 12-01-2007, 04:21 AM
vodoochild's Avatar
vodoochild vodoochild is offline
Midget Wrangler
 
Join Date: Nov 2007
Posts: 38
vodoochild is on a distinguished road
Default

holy jeebus bman that is epic! love the way the snake melts to dome..
Reply With Quote
  #7  
Old 12-01-2007, 04:35 AM
Kaneda Kaneda is offline
Chat Room Mod
 
Join Date: Nov 2007
Posts: 72
Kaneda is on a distinguished road
Default

Damn, and I thought the 4 runs in my 5 gallon 3 bag kit earlier today was a lot of work.

Question though, the bubble I got looks about as green as the pic you showed of the 120u stuff, is that ordinary, or proof of low quailty? Will it turn more tan colored upon drying for a couple days?

Amazing thread, I can see why you'd want to spend like 12 hours trying to get it perfect!
Reply With Quote
  #8  
Old 12-01-2007, 05:01 AM
diggity's Avatar
diggity diggity is offline
Cloudy Heads
 
Join Date: Nov 2007
Posts: 54
diggity is on a distinguished road
Default

Bubbleman, thanks for all that you do
Reply With Quote
  #9  
Old 12-01-2007, 05:07 AM
HENNESSY HENNESSY is offline
Clear Heads
 
Join Date: Nov 2007
Posts: 5
HENNESSY is on a distinguished road
Default

Very Very nice bubble man!
Reply With Quote
  #10  
Old 12-01-2007, 04:19 PM
Blynx Blynx is offline
Clear Heads
 
Join Date: Nov 2007
Posts: 20
Blynx is on a distinguished road
Default

Very nice thread!
Reply With Quote
Reply

Thread Tools
Display Modes

Posting Rules
You may not post new threads
You may not post replies
You may not post attachments
You may not edit your posts

BB code is On
Smilies are On
[IMG] code is On
HTML code is Off

Forum Jump

Similar Threads
Thread Thread Starter Forum Replies Last Post
First time making bubble with trim fizoster Discussion 9 08-13-2010 08:08 AM
old trim direwolf88 Discussion 3 05-24-2009 07:09 AM
How much trim? hashcat Discussion 4 03-31-2009 08:34 PM
1lb of bubble, 90 more lbs of trim to go. . . . Evergreen Techniques 28 02-13-2009 07:46 AM
Melty Bchashplant Bubble!!! clear domes Bubbleman Pictures 4 12-23-2007 11:38 PM


All times are GMT. The time now is 10:41 PM.


Powered by vBulletin® Version 3.8.4
Copyright ©2000 - 2010, Jelsoft Enterprises Ltd.
vBCredits v1.4 Copyright ©2007 - 2008, PixelFX Studios